Taylor and I always wanted to have a drawer system for overlanding. In our travels, we learned that keeping organized is key to a stress-free adventure. Back when we had our Xterra we never pulled the trigger on one because we were concerned about the long-term investment not lasting. As it turns out, we were right, and the Xterra died on us for the last time after three years on the trail. Then came our 4Runner and a fresh start to the overland build, and I found myself thinking about a drawer system again.
The Plan
When I first started thinking about our Drawer Build, I was originally just going to buy one pre-made. Most will run you around $1,500 to $2,500 depending on where you get it, but none of those stood out to me. I either didn’t like how they looked, they were too boring, or they just couldn’t do what I wanted them to. I then heard about a company that builds really nice drawer systems. That company was called TruckVault. On their website, they had a page where you could customize your drawer system with fitments for 4Runners, and I spent the better part of a day customizing my build. However, once I had all my preferences picked, the tag came out to over $4,000. That was too much for our modest budget.
I looked over the setup I picked out, and then at the price again. I realized that what I wanted was basically just a box; one I could build for a fraction of the price and have perfectly customized to my specific needs. My mind was made up. I was going to build my own system. I would tailor each aspect to be purpose-built for maximum functionality and aesthetic quality. I was going to make the best DIY drawer system that has ever been in a 4Runner.
…But in order to do so, I first needed to have a plan.
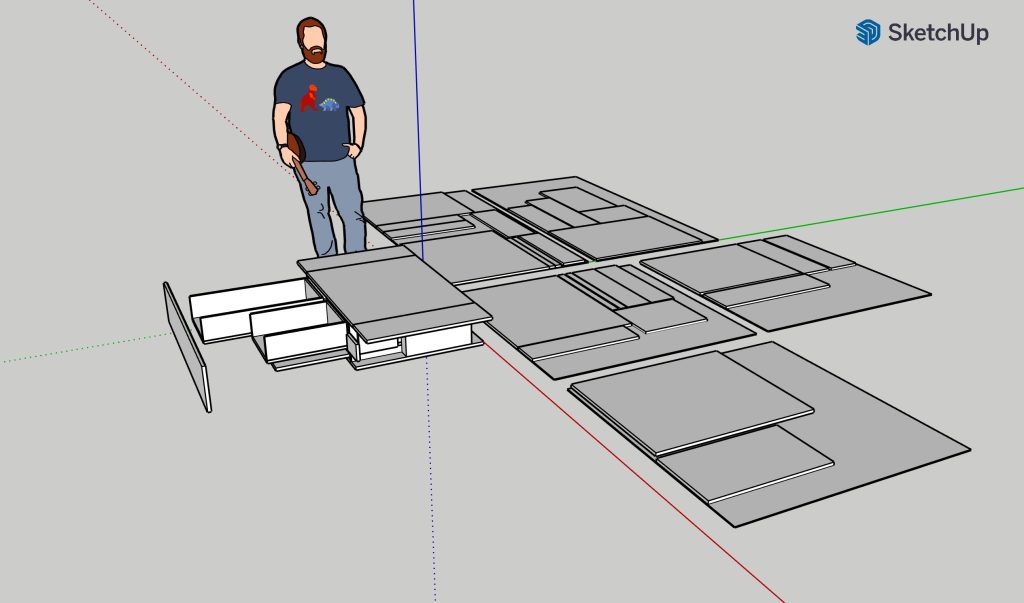
I took some basic measurements of my rig and I fired up a program called Sketchup for the first time. It had a learning curve to it, but I eventually figured it out and came up with the basic framework for a drawer system. I then carefully duplicated each piece I had modeled and overlayed it on 3D planes measured to plywood sizes so I would know exactly how much I would need. Ultimately I only spent around $350 on wood.
The Build
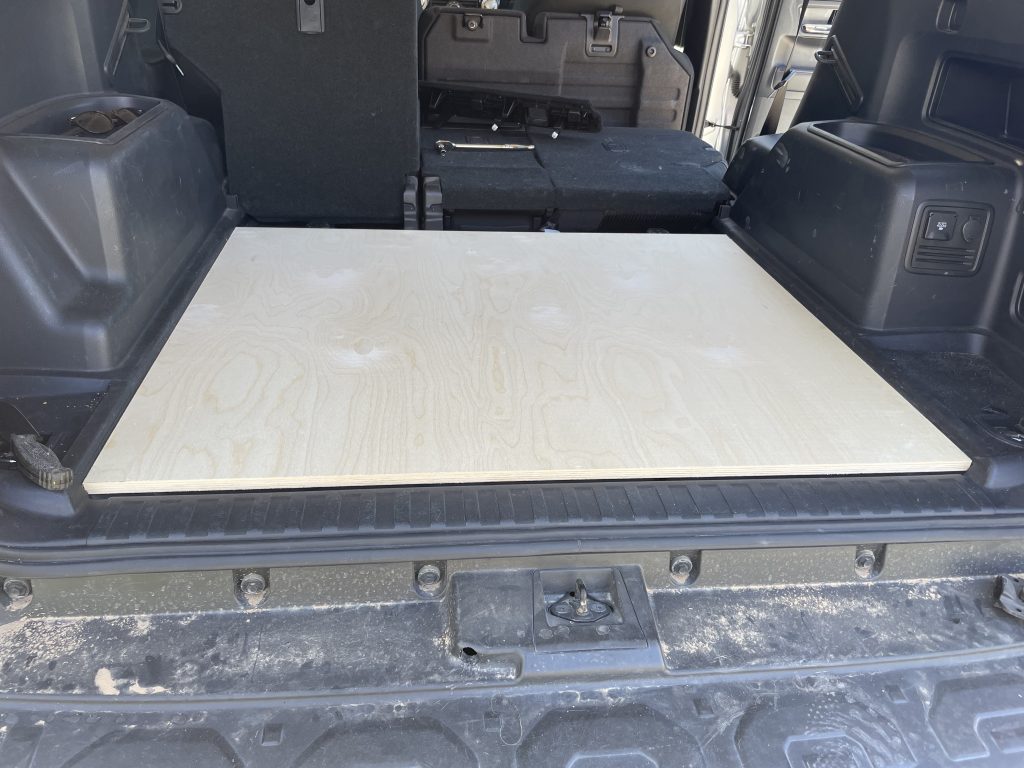
It all started with a single piece. Even though I had rough measurements for all my lumber, this project was still a measure, plan, cut, and repeat process for each individual piece to reach the desired precision.
I gutted the carpet out of the rear hatch and made my first cut to fit the base foundation of our build.
For lumber, I was originally going to use 3/4 pine ply. It’s cheap and it was pretty much what everyone else on YouTube used for their builds, but I wanted to do something nicer. I chose to use 5/8 birch ply. It’s not a wood that’s typically people’s first choice. It’s thinner and a little bit more expensive, but it was still within our budget, so we decided to risk it. My fear was that it wouldn’t be as strong as 3/4 pine, but as it turns out, 5/8 birch uses full sheets for each ply, making it remarkably durable. Looking back I’m very pleased with this choice because smaller ply means more drawer space to utilize and less weight in the back of our rig.
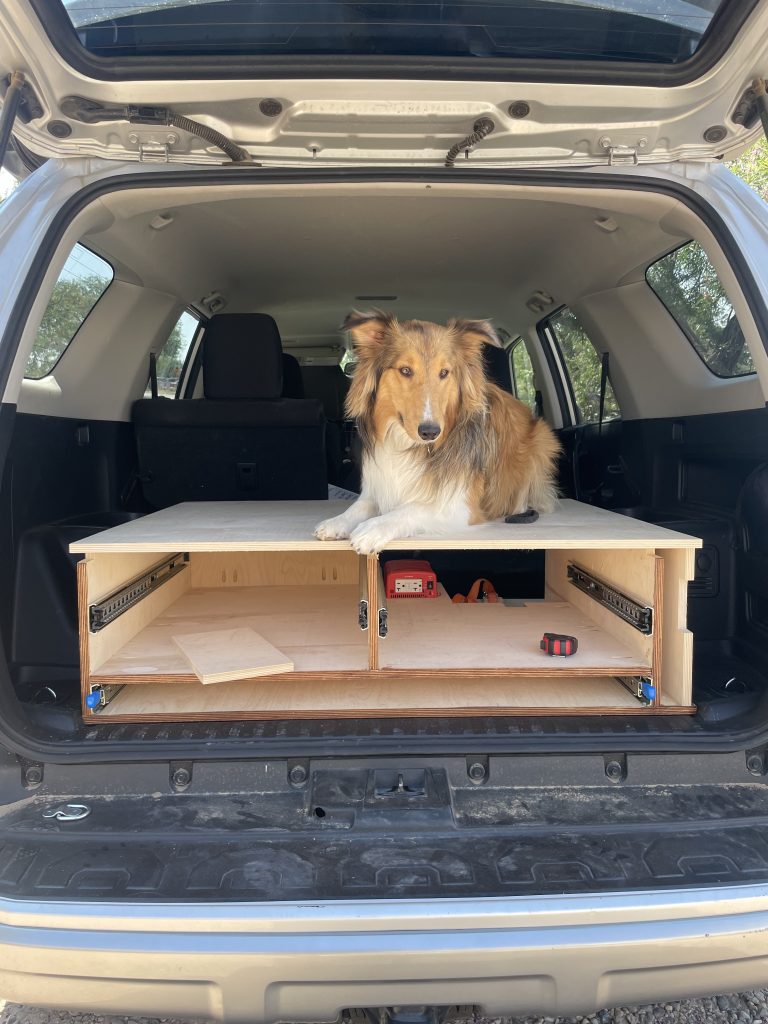
I built the box with a few goals in mind; I wanted it to have two drawers, I wanted a slide-out table, it needed to house the auxiliary battery, and most importantly it needed to fit all this in such a way that it utilized all available space and maximized available storage space with an atheistic look.
For the drawers themselves I needed about 6-7in in depth. The driver side would utilize the full depth of the system which was around 31 inches. In designing this system I could have easily made it a bit longer to about 33 inches, however, I realized that I still wanted the rear seats to recline if I so chose. So with that in mind, 31 inches was the limit.
The entire build is pretty much held together with pocket holes. Pocket holes provided a clean, fast, and accurate way to connect everything together and it sped up my workflow incredibly.
The slide-out table was my next priority. This was a feature that, to be honest, I didn’t really need. It would reduce the drawer depths and we already had our kitchen table that slides neatly under the roof rack, but on the flip side, it does give you cool bragging rights at meetups and it still provides an easy workspace when I’m in places where I don’t want to pull out our entire camp setup, so I went with it.
The table itself accounts for a two-inch gap under the drawer space. the table itself is made out of poplar wood. Poplar is a hardwood that isn’t often used in furniture construction because by itself it’s really ugly and can appear greenish, but it’s very cheap and if you know how to stain hardwood you can make it look pretty nice.
For the table, I glued two boards together and cut them to my desired measurements. The table itself ended up being about 18 inches deep so it provides plenty of surface area and extends past the bumper when installed in the rear hatch.
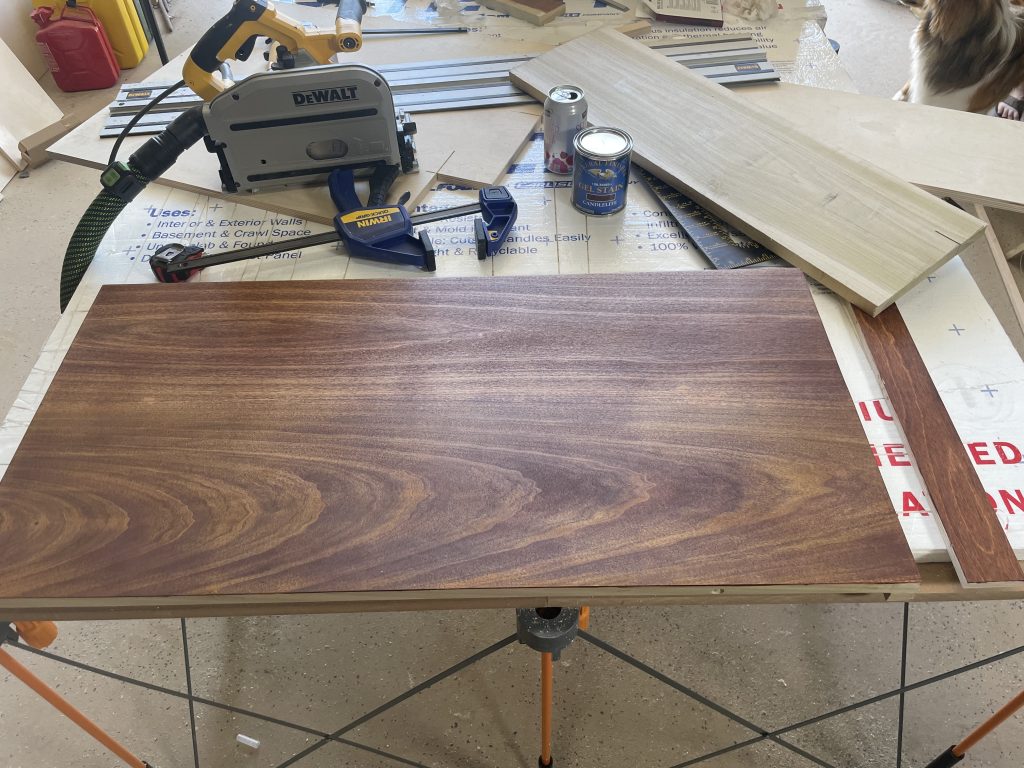
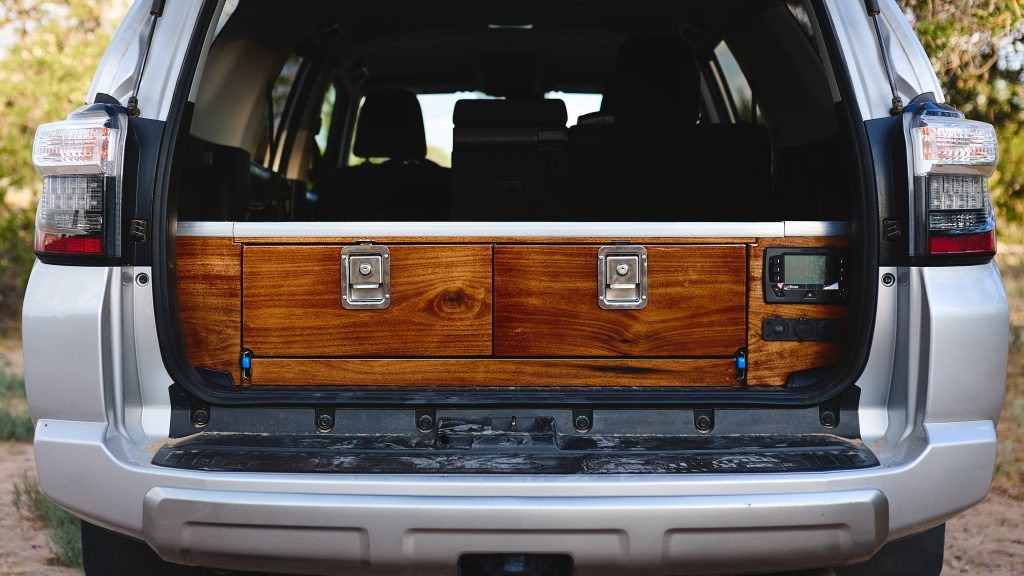
I wanted the face of the drawer system to be made of stained hardwood, and with poplar as inexpensive as it is, that ended up being my choice for the final look. Stained and cut to fit the contours of the vehicle, I have to say it came out quite nicely. I selected each piece based on the texture and grain of the boards in order to give it a little more vibrance.
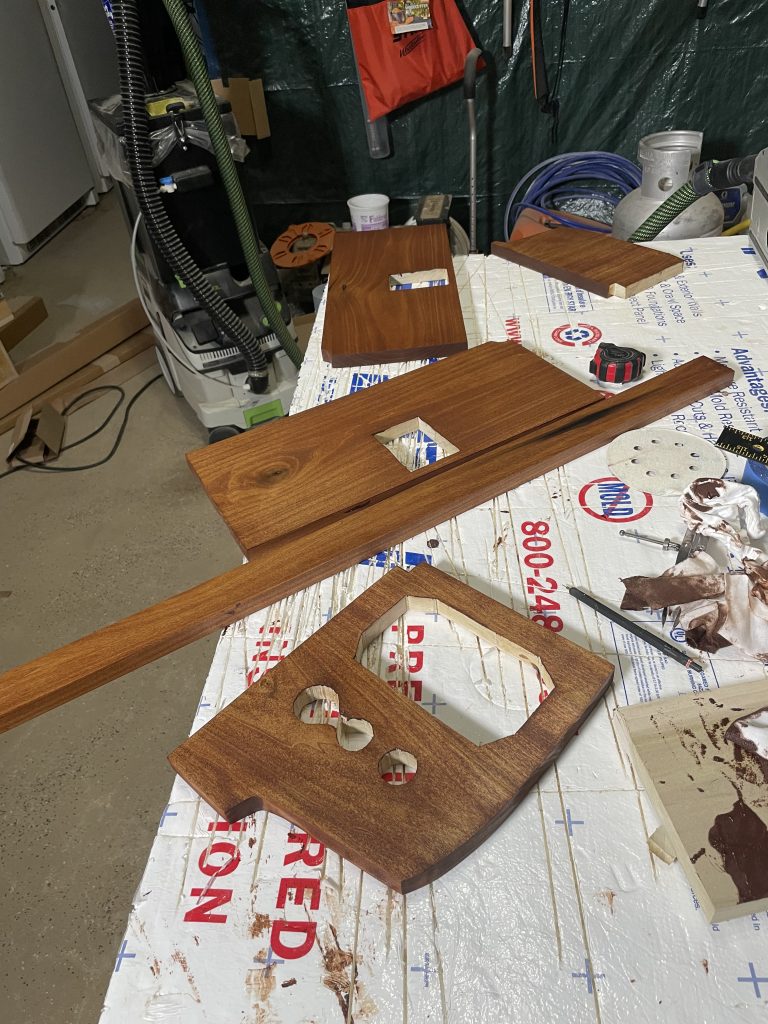
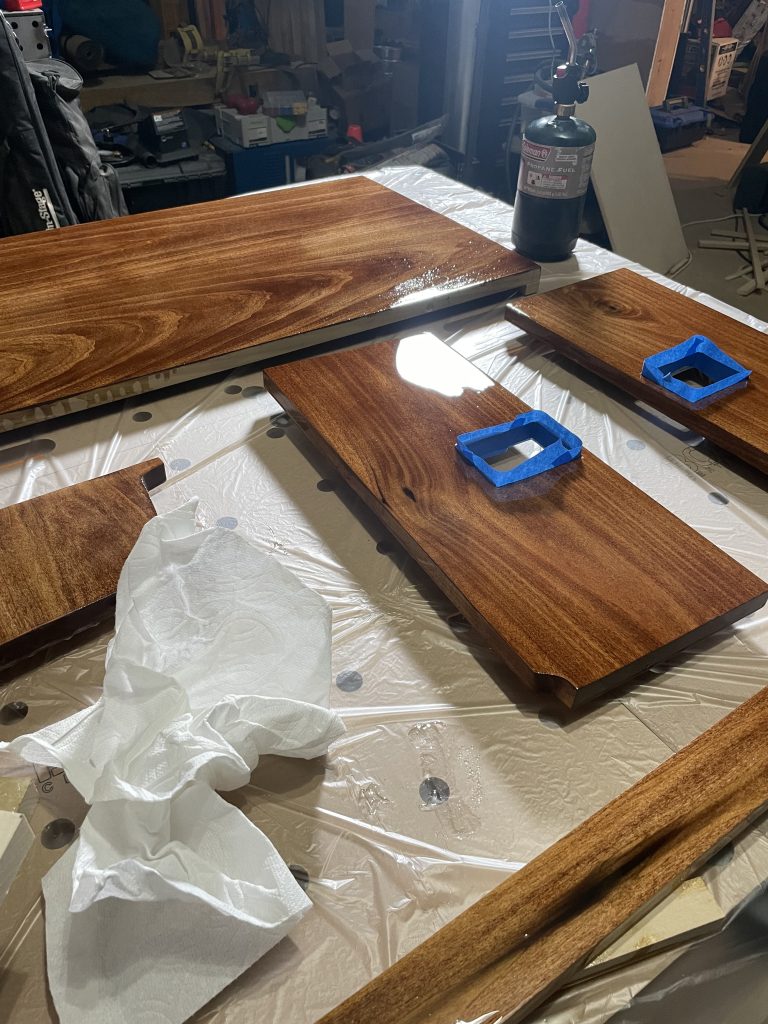
The next step was to coat all the poplar pieces in an epoxy seal for a high gloss finish. This was a process that took about 6 days to complete. Each piece has two coats of epoxy and each coat took about 2 days to finish. I messed up the finish on one piece so badly with the heat gun that it was unrecoverable, so I had to let the epoxy harden, sand it down, stain it, and then reattempt the epoxy coat which cost me a lot of time.
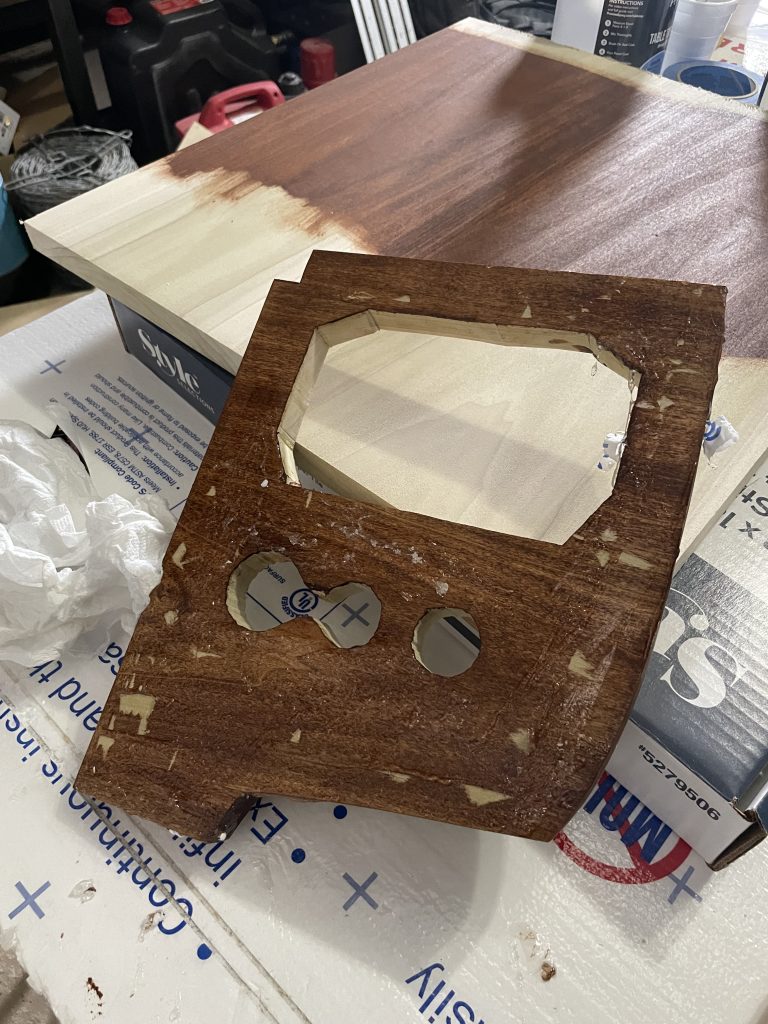
Eventually, I got everything stitched together and it ended up looking fantastic. I screwed in the faces for each drawer, the table, and the side panels. For the side panels, I also had to be sure I didn’t use any glue as they needed to be removable via wood screws in the back because they cover the access hole for the rear lights.
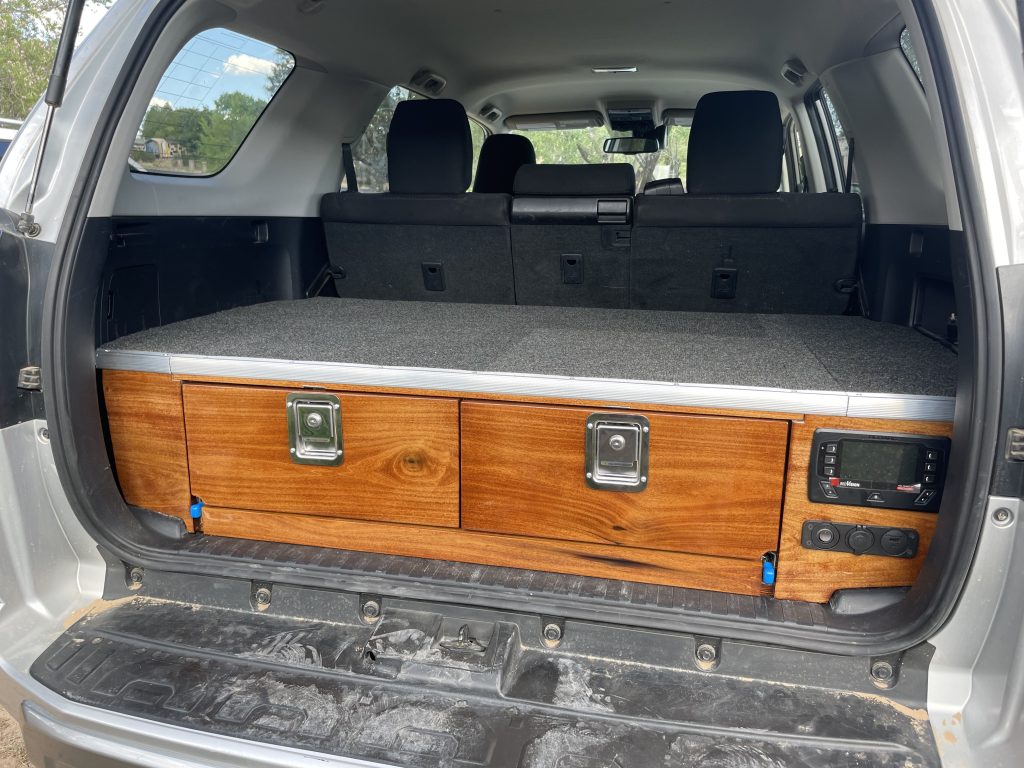
For the final touches on the woodworking, I used peel-and-stick carpet squares. I even cut out wings to fit over the wheel wells to maximize the available flat surface. They’re held in place using a few cabinet magnets placed underneath and will easily lift up if I need access to the wheel well.
The metal trim piece is actually trim for staircase steps that I found at a hardware store. It looked nice and I cut it to the width of the drawers to blend the carpet into the poplar.
The Electrical
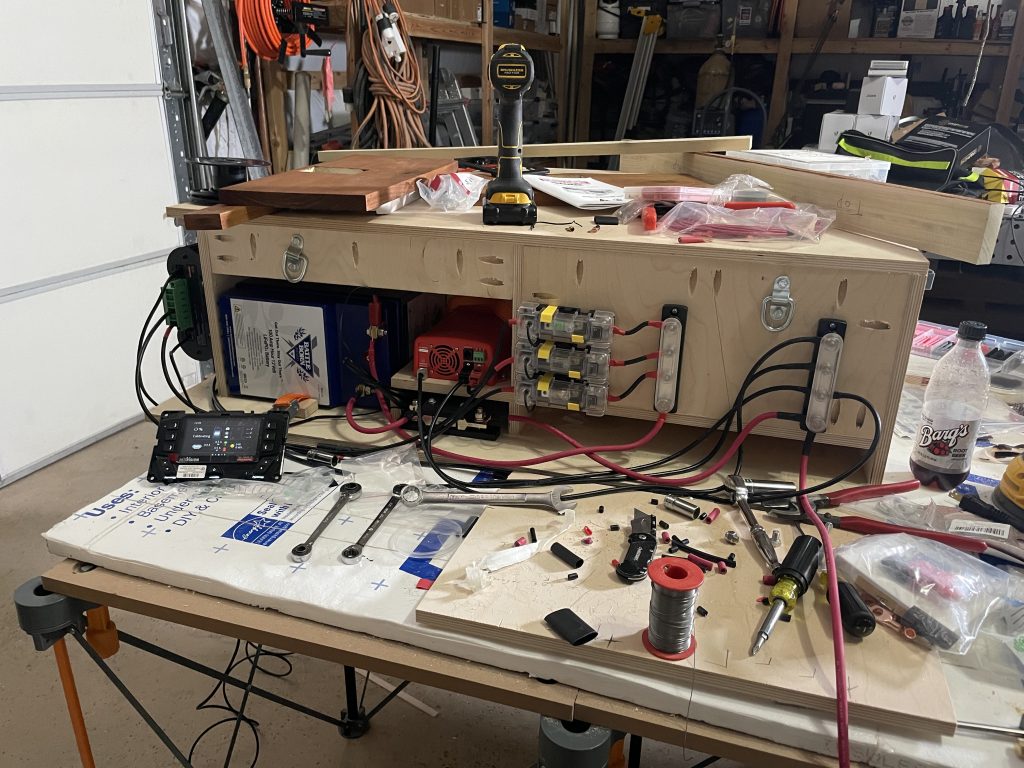
For our auxiliary power system, we needed something that could do better than the Jackery we used to have installed. I ended up turning to Redarc and Battleborn for solutions.
As for the actual wiring of the system, you can find a detailed schematic of this build over on our Patreon page here: patreon.com/aaronandtaylor.
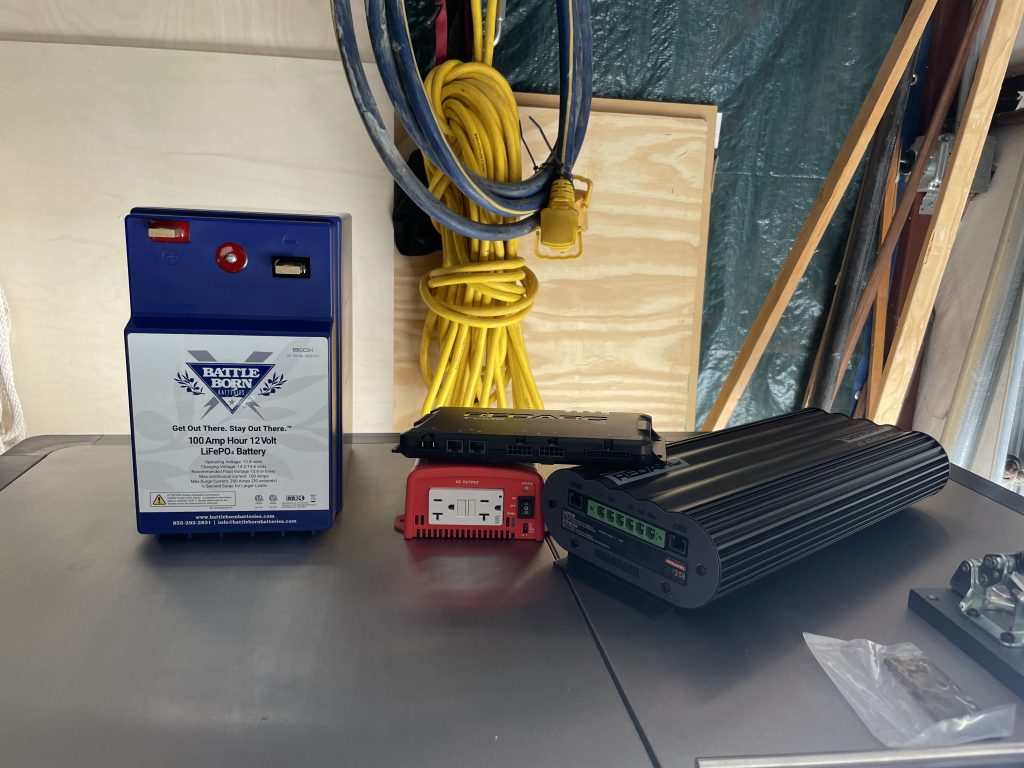
All electrical components are controlled by Redarc’s power management system. We’re utilizing the Power Manager 30 for charging the aux battery from solar, shore power, and alternator power.
For accessory management, we are using the new TVMS Rogue. This controls which devices turn off and on, such as the fridges, inverters, USB hubs, etc.
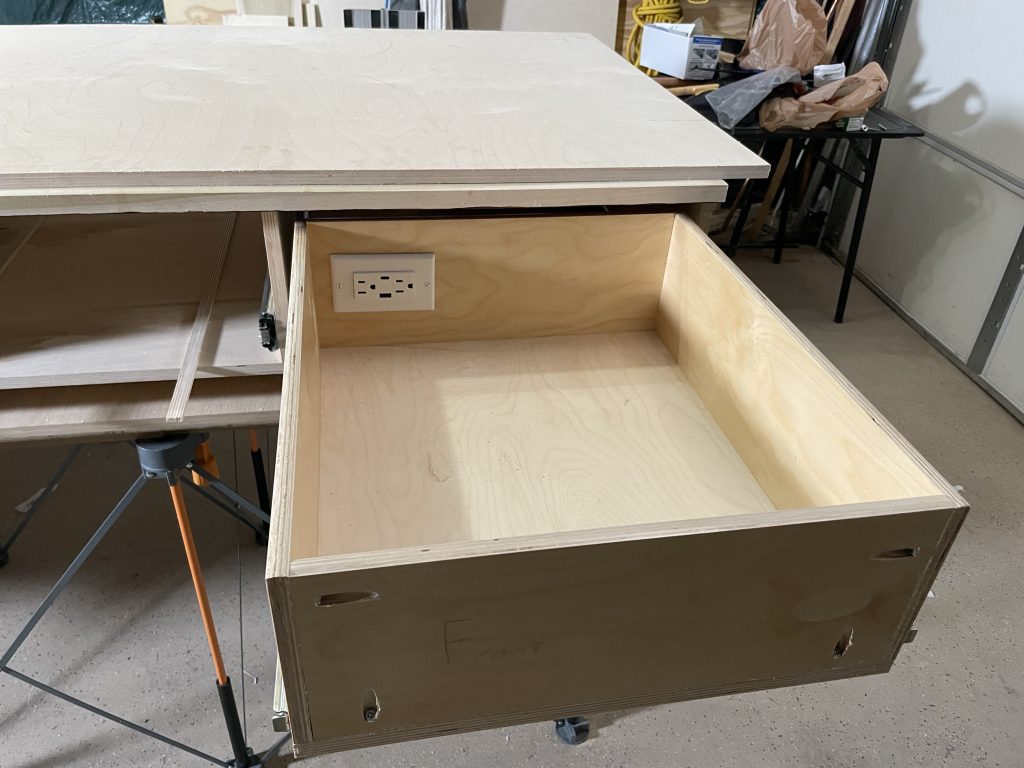
Speaking of inverters, we are also using Redarc’s 400 Watt inverter. It’s small enough to fit in the build next to the battery and provides plenty of energy for everything we need to power. To plug things into it I installed a power outlet in the right drawer for any electrical accessories that need charging.
As for the battery, we are using a Battleborn 100ah battery with a built-in heat pad. With lithium batteries, it’s important to keep them within operating temperatures as they are more sensitive to changes in the environment.
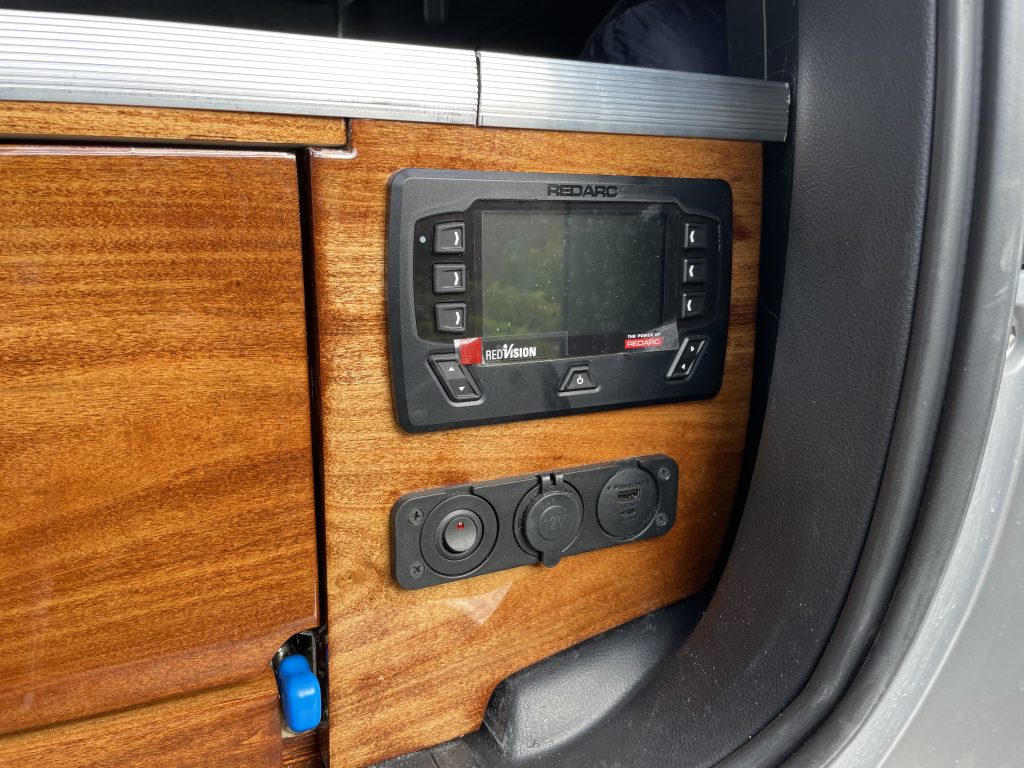
Since we live in New Mexico where we experience a wide range of temperatures throughout the year, it’s important that the battery doesn’t drop below a certain temperature range. To solve this, I installed a switch under the RedVision display. This switch ties directly into the heat pad built into the battleborn battery. The battery itself has its own management system that tells it when the heat pad should be enabled or disabled so it doesn’t get too hot or too cold, but having the ability to enable or disable this feature is important as there’s no reason for it to be on in the summer.
It should be noted that rather than using a physical switch, you can wire it directly to the TVMS rogue to control it. However, I decided not to do this because if the TVMS is ever set to storage mode (like it might be in the winter when we’re not traveling) it doesn’t allow for any accessories to be switched on or off.
The Final Touches
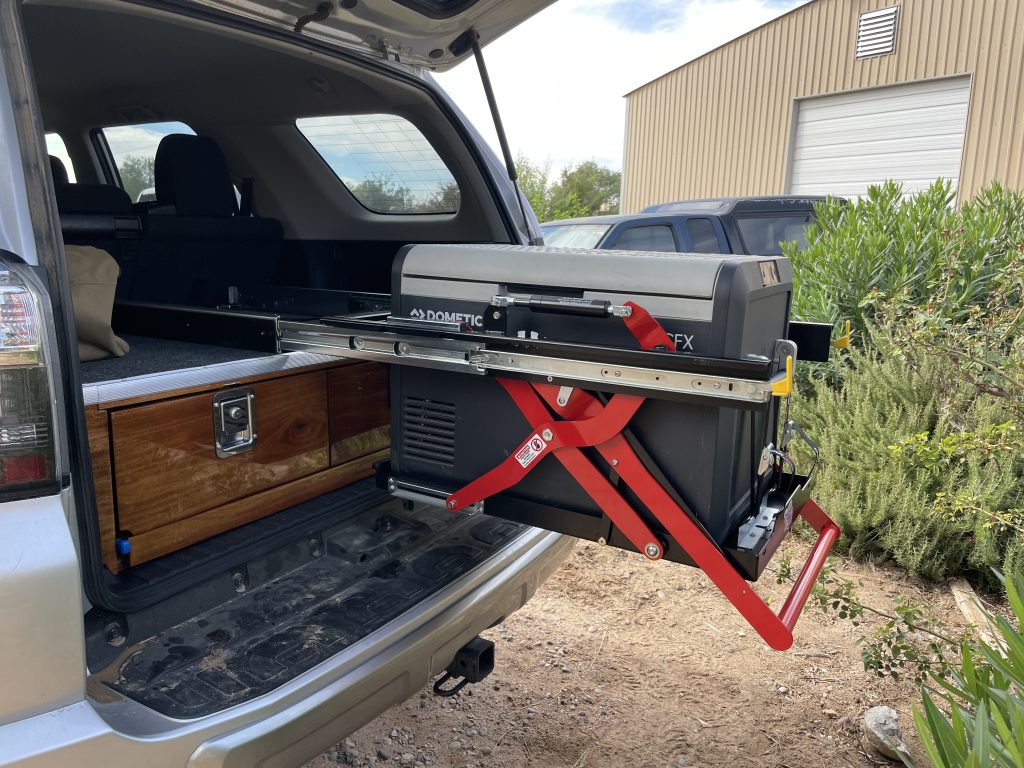
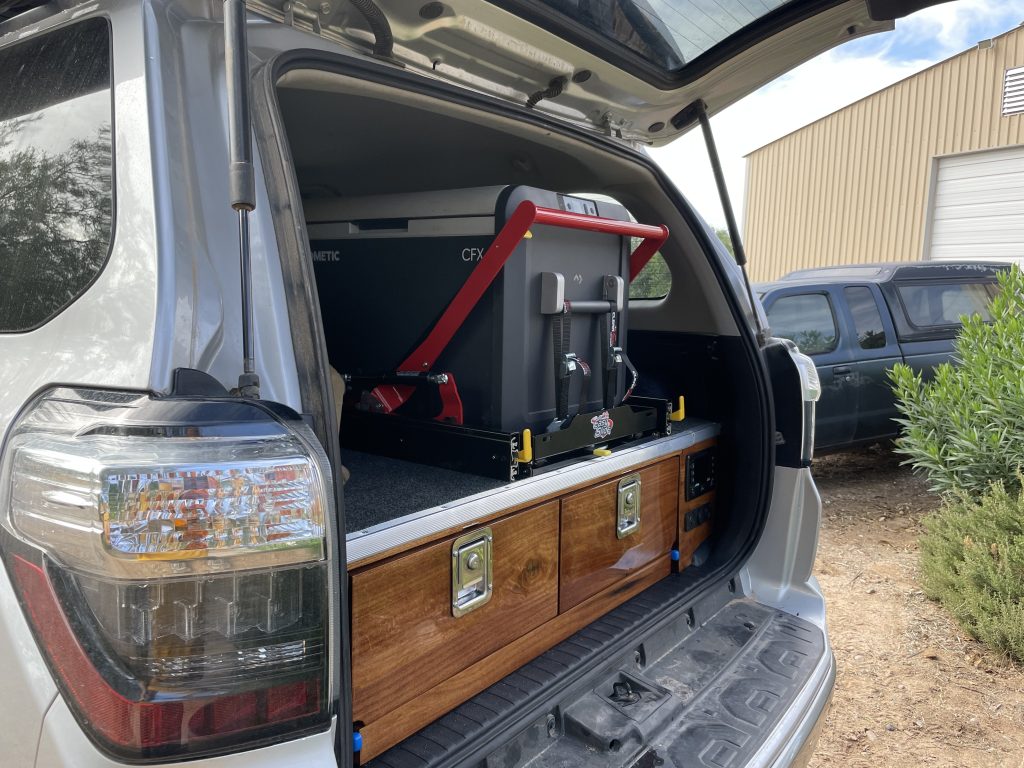
With the build complete and ready to go, it was time to put the finishing touches on the drawer system. We added a pretty sweet fridge slide and wired everything up. With our hard work all paid off, it was at last ready for its first adventure!
